The Wfilter cloud service enables centralized management of multiple WFilter devices. It allows users to view device addresses, system versions, IP addresses, and alarm information, as well as remotely access the management interface and synchronize configurations. This article outlines the basic steps for using the Wfilter cloud service.
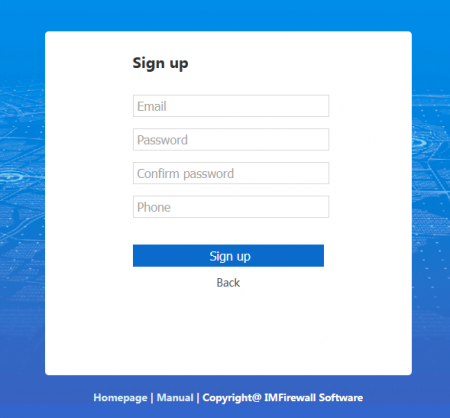
1. Register on the Wfilter cloud service
First, you need to register a new account on the Wfilter cloud service and log in. As shown in the figure below:
2. Configure the endpoint WFilter to join the cloud service
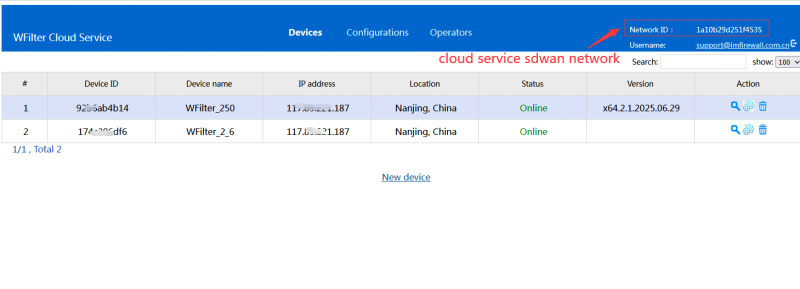
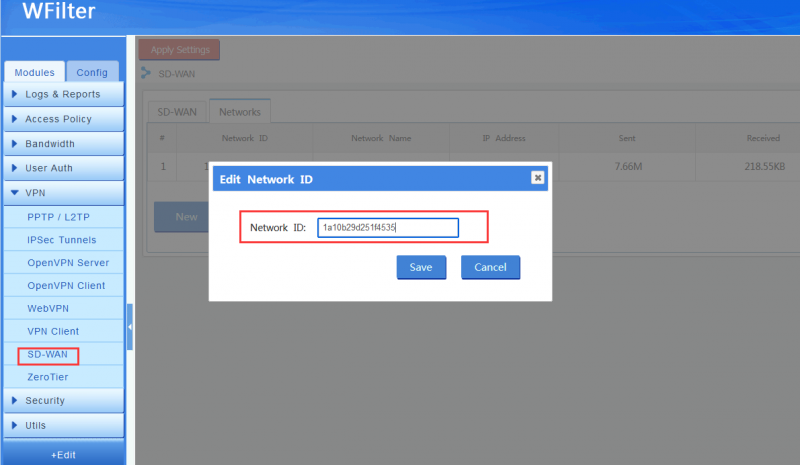
As shown in the figure below, record the cloud service network ID, and setup SD-WAN to join this network in the SD-WAN of the WFilter. In the Wfilter cloud service, copy sdwan network ID.
In Wfilter web-UI, join cloud network.
3. Add WFilter client in the cloud platform
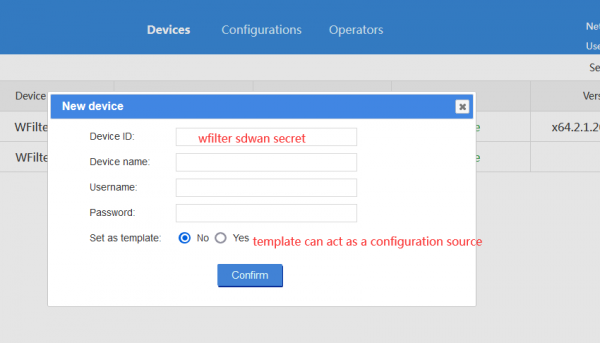
The third step is to add the Wfilter client device in the cloud platform. As shown in the figure below, add client’s SD-WAN secret in “Devices” in the cloud platform.
After the above steps, you are able to manage the added Wfilter clients in the Wfilter cloud service, including:
- View device address, system version, IP address, and alert information
- Synchronize configurations in different Wfilter devices
- Access the management interface via Internet