WFilter supports online activation and Email activation.
If you choose to activate your product over the Internet, upon your submisson the activation wizard will detect your Internet connection and connect to a secure server to transfer your register key to us. The registration is passed back to you, automatically activating WFilter, if the register key is valid.
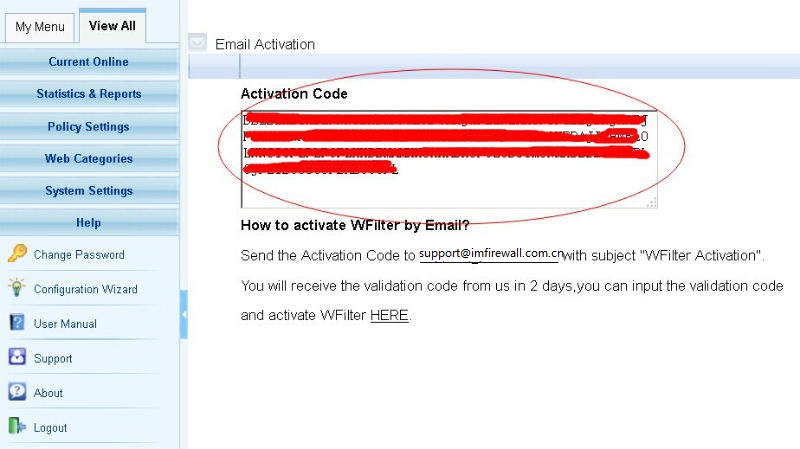
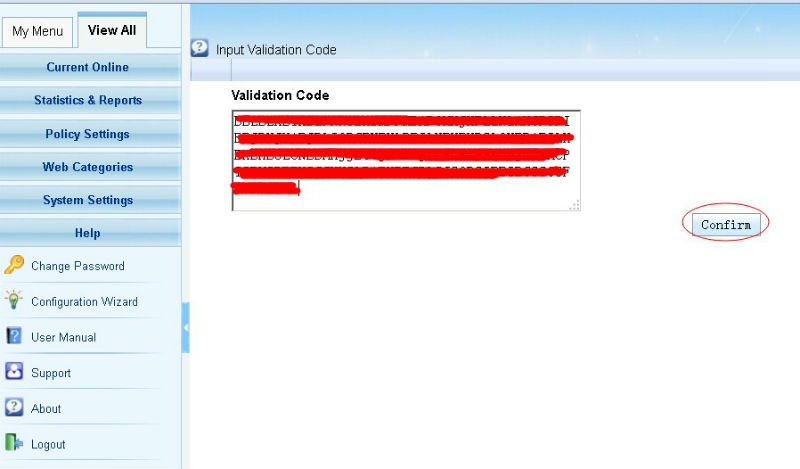
If you choose to activate your product by email activation, you should input the register key in text box and click the “confirm”. You will get an activation code. Please send them to the support email box. The validation code will be sent back to you within 24 hours. Please copy them in the valiation code textbox to activate your product.
1. Steps of Online Activation
Online activation requires an available internet connection to connect to WFilter activation server.
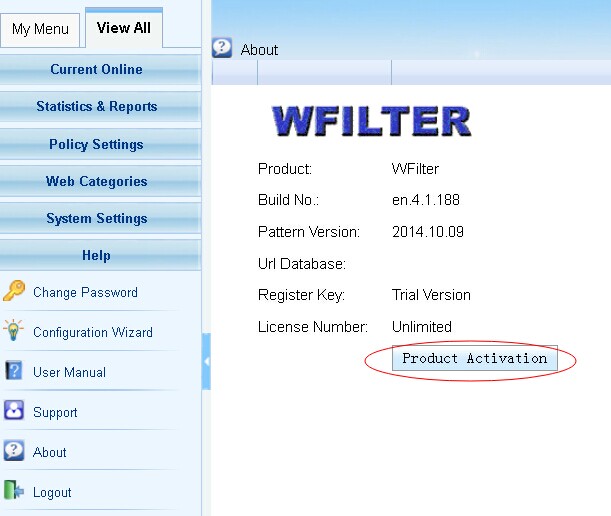
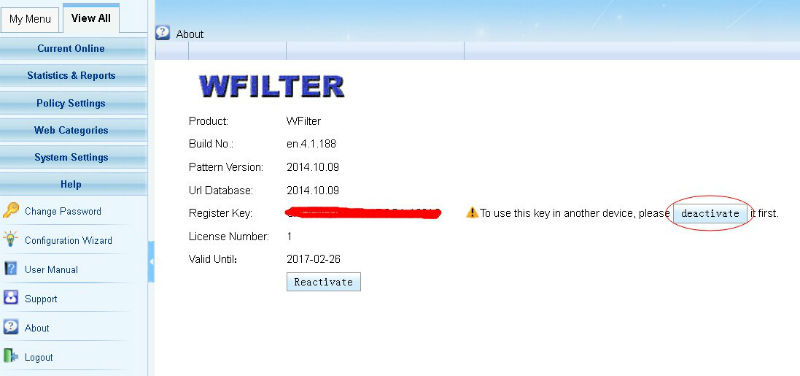
1). In “Help”->”About” of WFilter, click “Product Activation”.
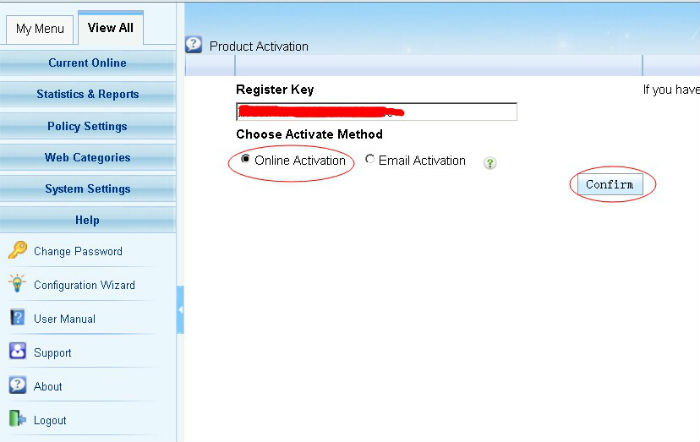
2). Input your key number and use “online activation” to do online activation.
3). Successful activation.

2. Steps of Email Activation
Online activation requires an available internet connection. If you can not connect to WFilter activation server, you also can use “Email Activation”.
1). Input your key number and use “email activation” to do online activation.
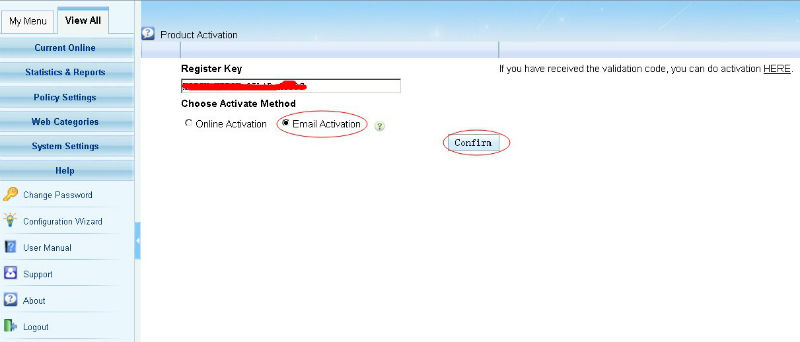
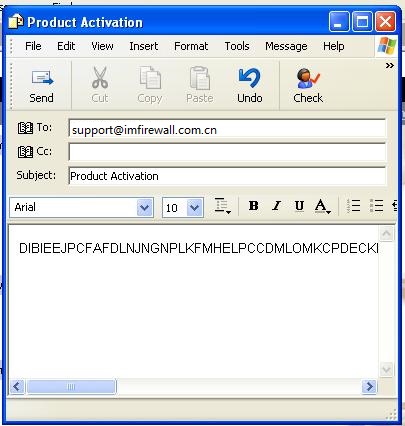
2). In “Email Activation”, copy the activation code and send to support email address support@imfirewall.com.cn.
3) It might take several hours to receive the reply email since the response email is sent manually.
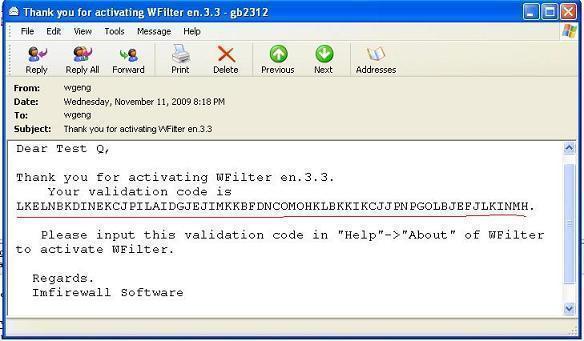
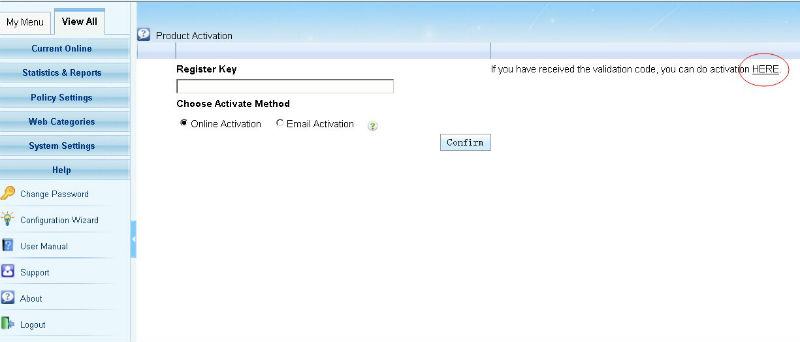
4). In “Help”->”About” of WFilter, you need to enter the received validation code into WFilter.

3. Website Activation
You also can do activation on our website at here: http://www.wfiltericf.com/activation/
4. De-activation
Sometimes, you might want to move the key to another computer. You need to de-activate this key first.
Click “deactivate” in “Help”->”About” to de-activate the key.

